It took about 10 days to complete the upgrade as I didn’t want to rush it. However, it’s now all done and we’re running on Lithium. Better still i didn’t blow anything up and I think there was only one unexpected spark when I touched something I shouldn’t have! I’m very happy with the results and looking forward to seeing how it all beds in.
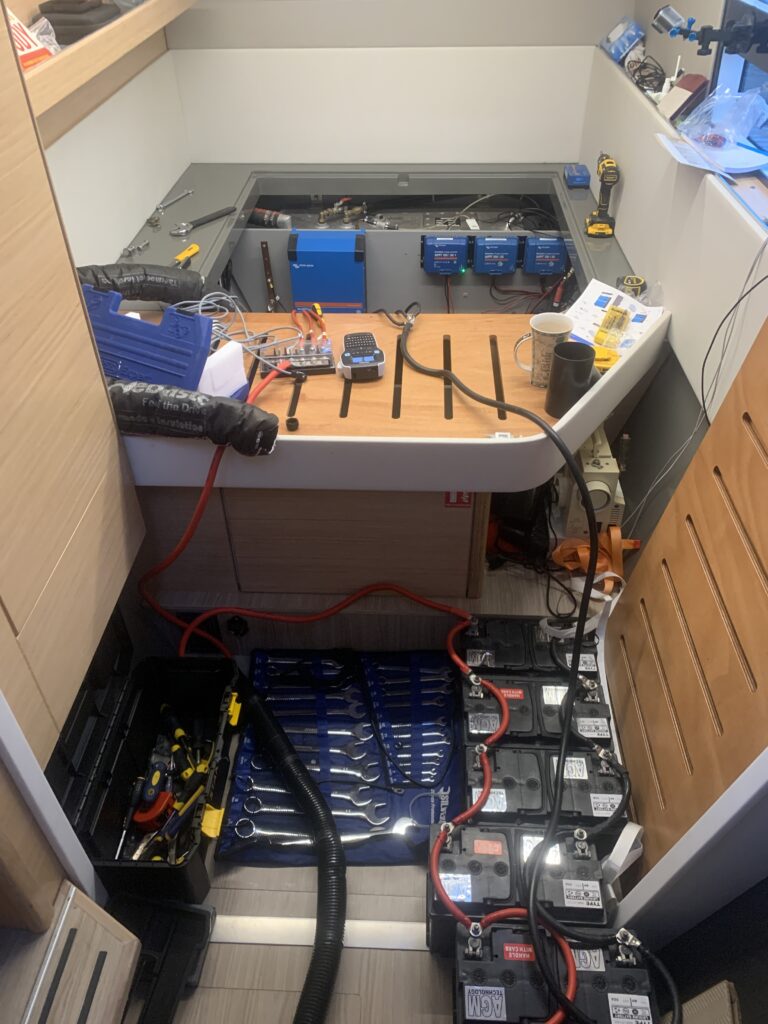
We needed to keep the boat running so I temporarily wired the original batteries up on floor outside the bunk. It was real “Heath Robinson” for a while.
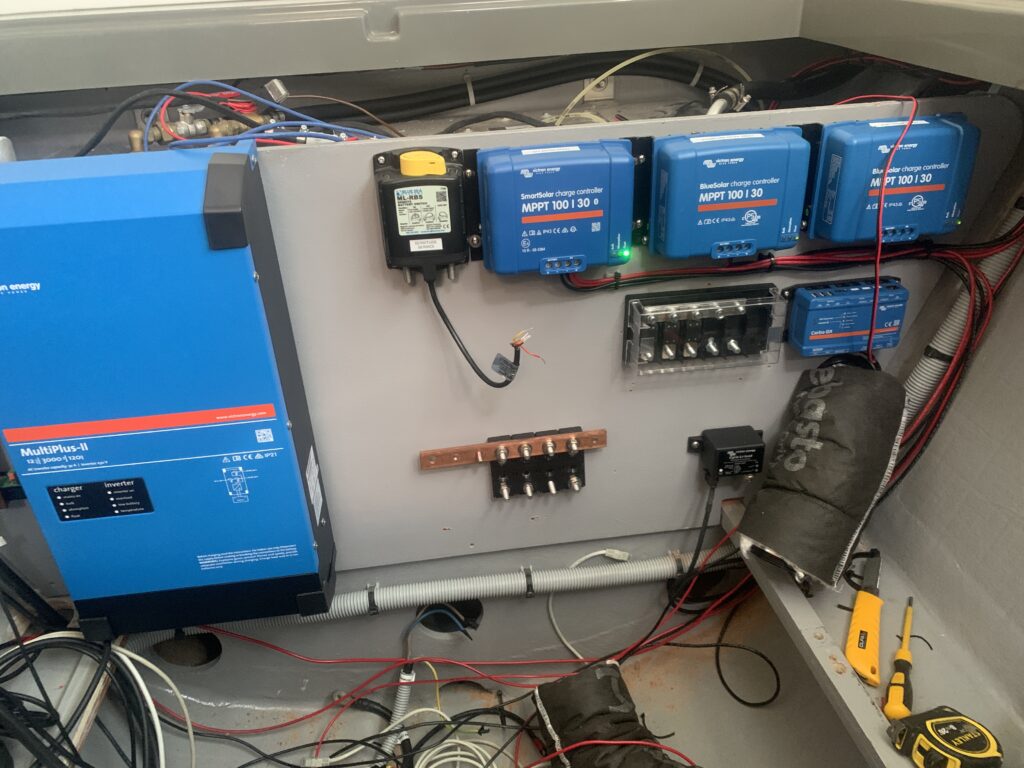
The process was a bit “baby steps” as I tried to work out how to squeeze in all the parts into a pretty small space. I also didn’t want to pull everything apart and loose track of what all the wired did, so I moved things system-by-system. What you won’t be able to see if that there are quite a few screw holes where I have moved things about to make it all fit…..

Getting close now. Here is the basic layout (from left to right).
far left: all the black (negative) wires go to a common “busbar” that allows them all to connect to the batteries. Where you see a split in the bar, that’s a “shunt” that measures the amount of current being consume and can calculate the % power remaining in the batteries.
The big blue box is the Multiplus ii charger / inverter. It charges the batteries when we’re plugged into shore power and then produces the 240V for the appliances on Nautilus
Next the black box with the yellow switch is an isolator that we can manually turn off the loads
below that will be the distribution fuseboard for all the loads on the boat
At the bottom centre is that positive busbar – it’s where the positive (red) of the batteries connect and where all the loads are connected. You can see a big red breaker where the load goes to the Multiplus (with a 400A fuse!).
The middle blue box and the little black box on the bottom right are battery isolators that mean the battery management system can shut everything down when necessary.
The 3 blue boxes on the top row are solar charge controllers that connect the solar panels into the system
The black fusebox below combines the solar chargers and engine alternators to charge the batteries
the blue box on the furtherest right is the Cerbo GX brains of the system that monitors everything and lets me control most of the settings.
and then finally at the very bottom centre is the battery management system that will monitor the lithium batteries when installed.
Final install (rear panel)
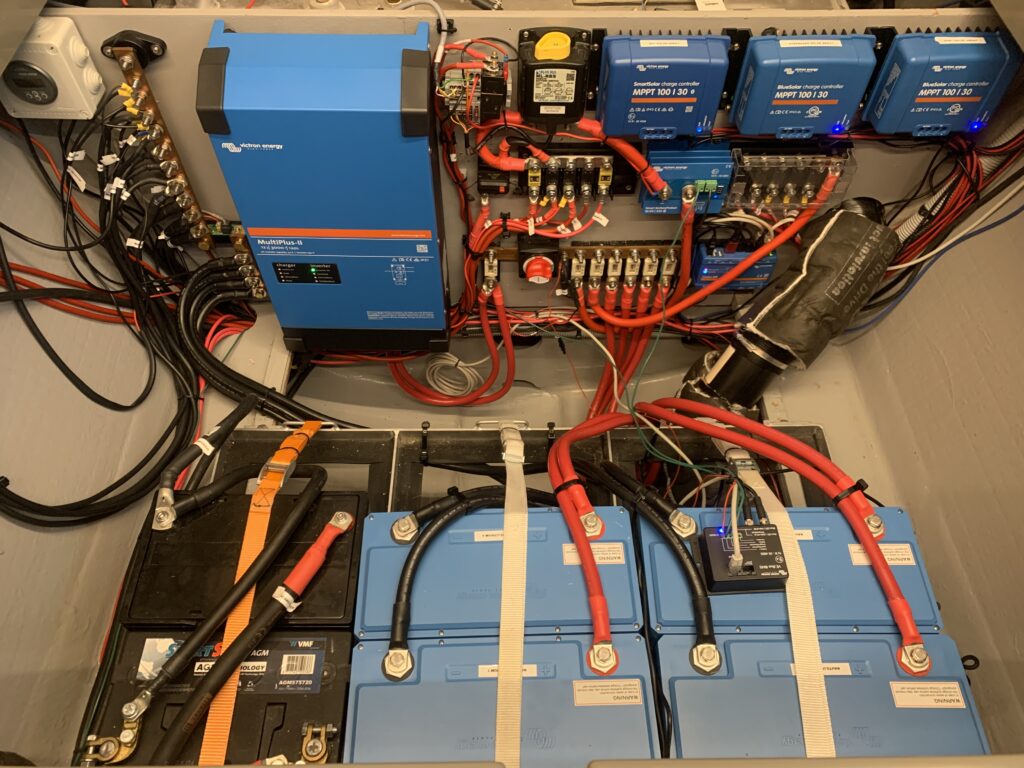
After a lot of jigging things around, the aft electronics are installed. This is everything necessary to run the house systems on Nautilus.
actually, it’s not quite finished yet. The eagle eyed of you will see that the BMS box is sitting on the batteries rather than on the wall. This is because the cables were not long enough, so i’m waiting for the extension cables to arrive.
Also, i’ve had to bypass the battery protect for the charging circuit as the wrong part was delivered. When that’s installed later, it’ll tidy up some of the wiring.
The forward panel
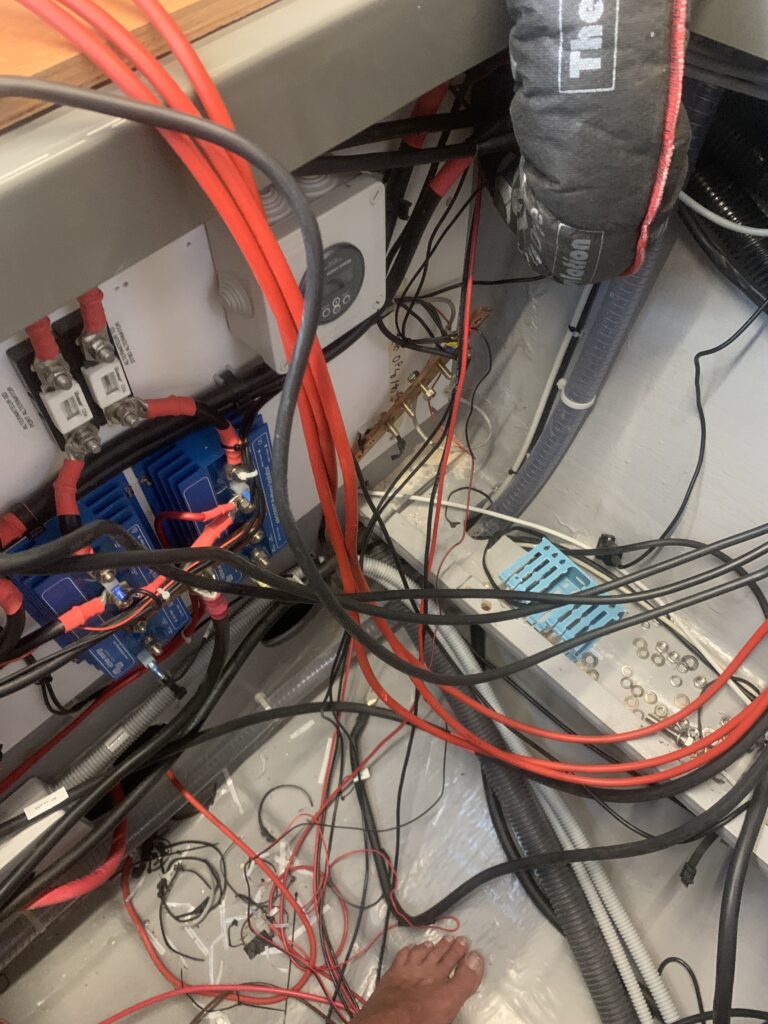
This was less complicated but still pretty fiddly. This is where the cables for the starter motor, alternator com back to meet the starter batteries. It then needs the power management systems to let the engines charge the house batteries when running.
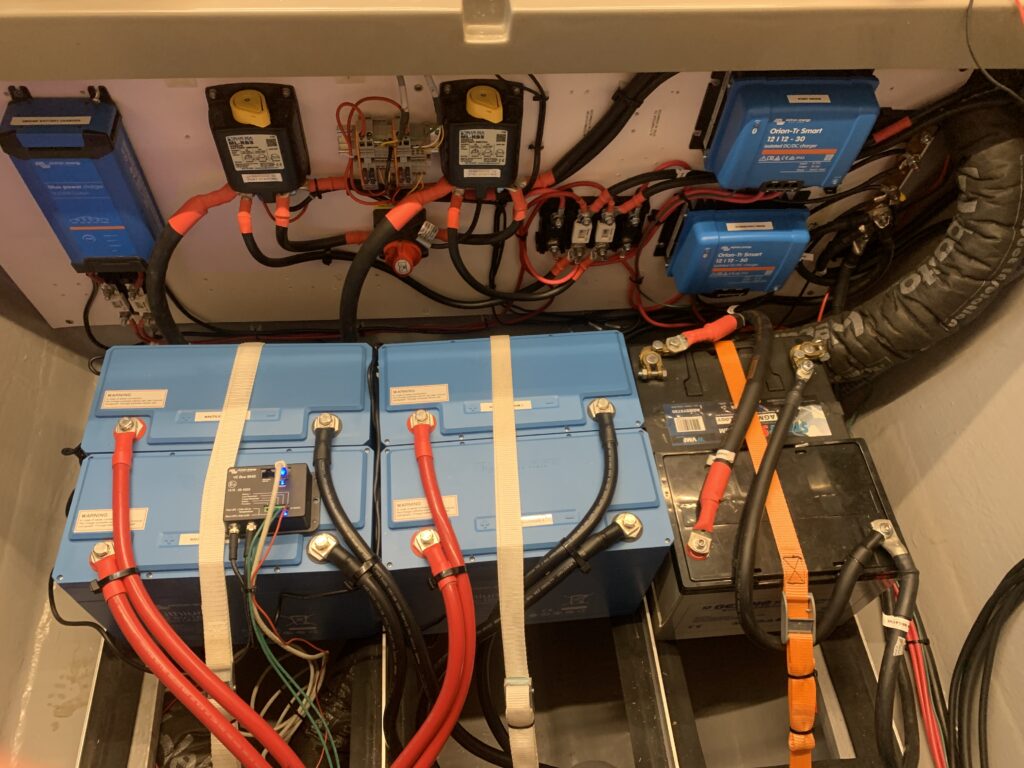
And this is the finished panel. From left to right:
far left: charger for the starter batteries
black boxes with yellow are the isolator switches to shut everything down when necessary.
red switch (right in the middle) is a cross-link where one battery can start both engines if we had a problem
blue boxes on the right are the DC-to-DC charge converters. It’s a bit complicated but basically they limit the amount of power that can go from the alternator to the lithium batteries. You need these otherwise you can end up burning out your alternator.
far right: is the negative busbar for the engine systems (that’s linked to the other bar). I split it just to keep things tidy
The black batteries on the right are for the engines (no need to upgrade them to lithium).
so what now.....
Have a break and let things settle down…. Plus I promised Tates I wouldn’t pull the boat apart for a while.
When the extension cables arrive for the BMS and the battery protect, then i’ll pop them in to complete the setup. I also have an idea for an upgrade to make the charging from the engine more efficient, but more on that another time.
In the meantime, all the data about the performance of the new system is being logged int the cloud and there are lots of things to be checked and tweaked to get the most out of it.

2 responses
Looks like a really worthwhile upgrade. Now it’s time to sail 😃
Hi Casper,
I have been thinking about a further simplification of the system. The 2 extra batteries and related electronics for the 2 starter motors are complicating matters.
What about getting rid of this all and simply connect both starter motors to the lithium batteries ? And both alternators of course via a current limiter to the same battery bank. Lithium gives you more starting power than lead.
This is of course not “old school” with separated supplies for engine and housekeeping but with a good battery management system is is almost impossible that you run out of power and can not start at least one engine.
Eltjo